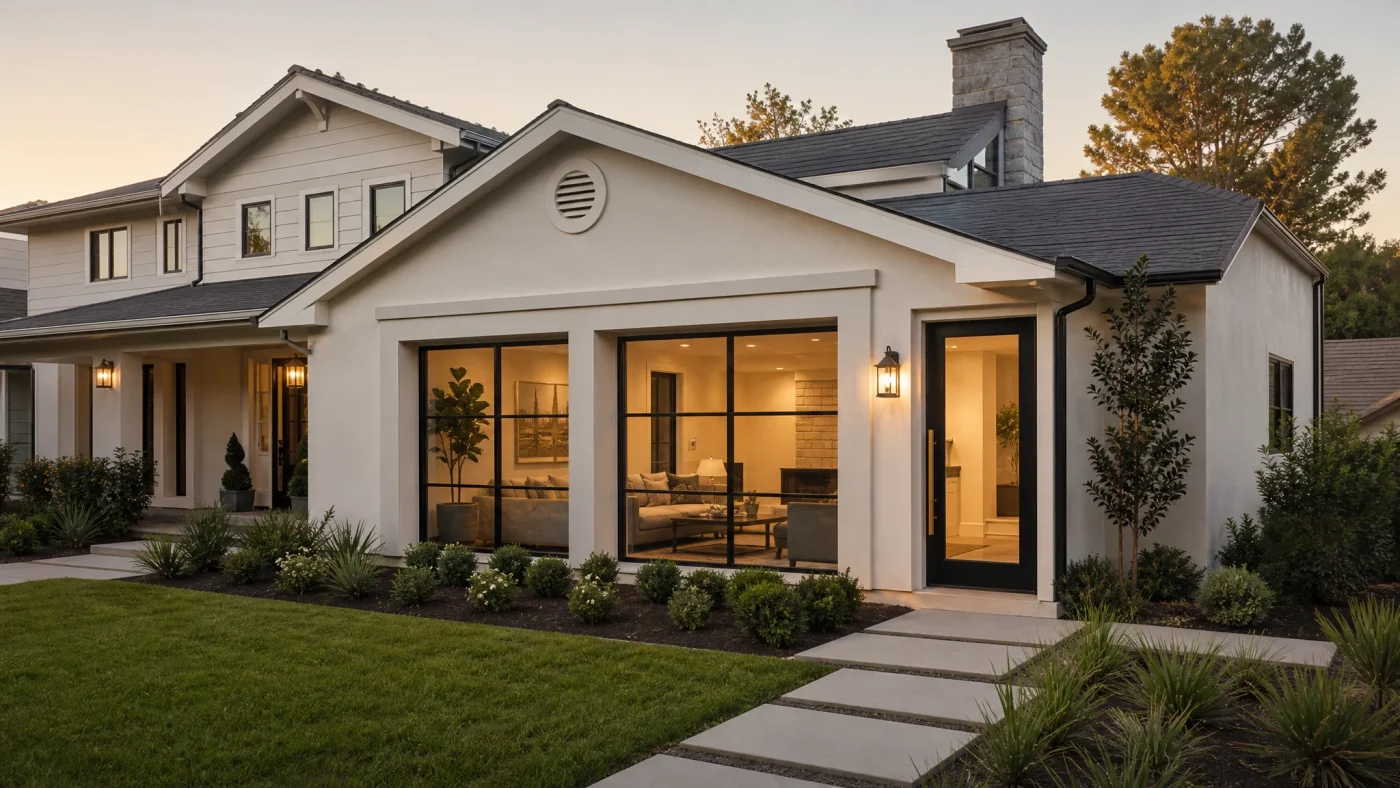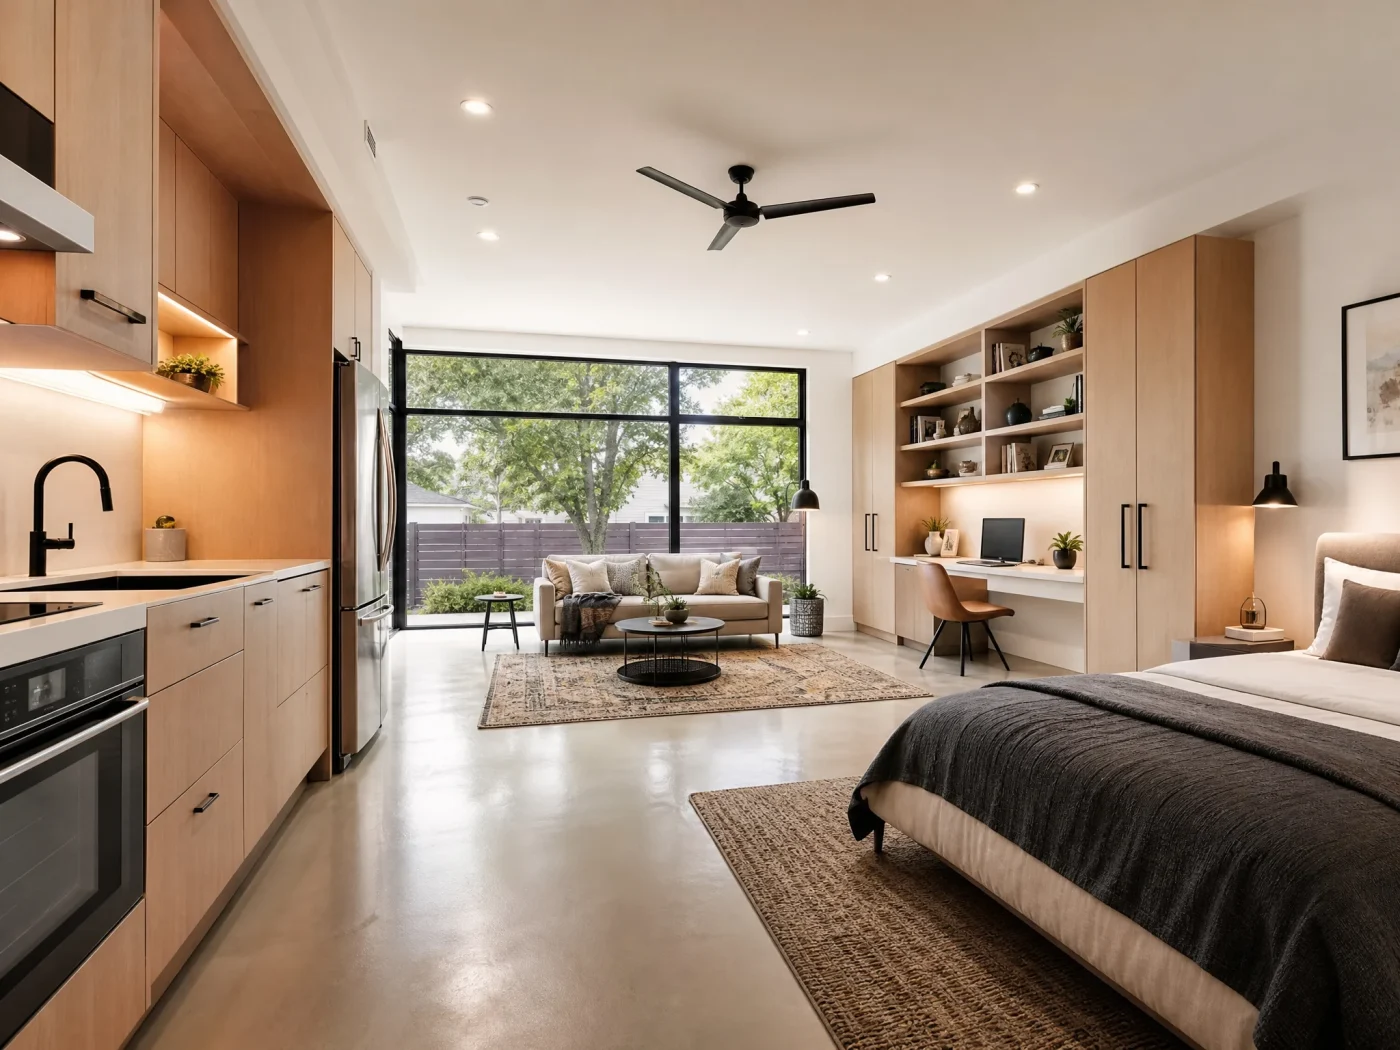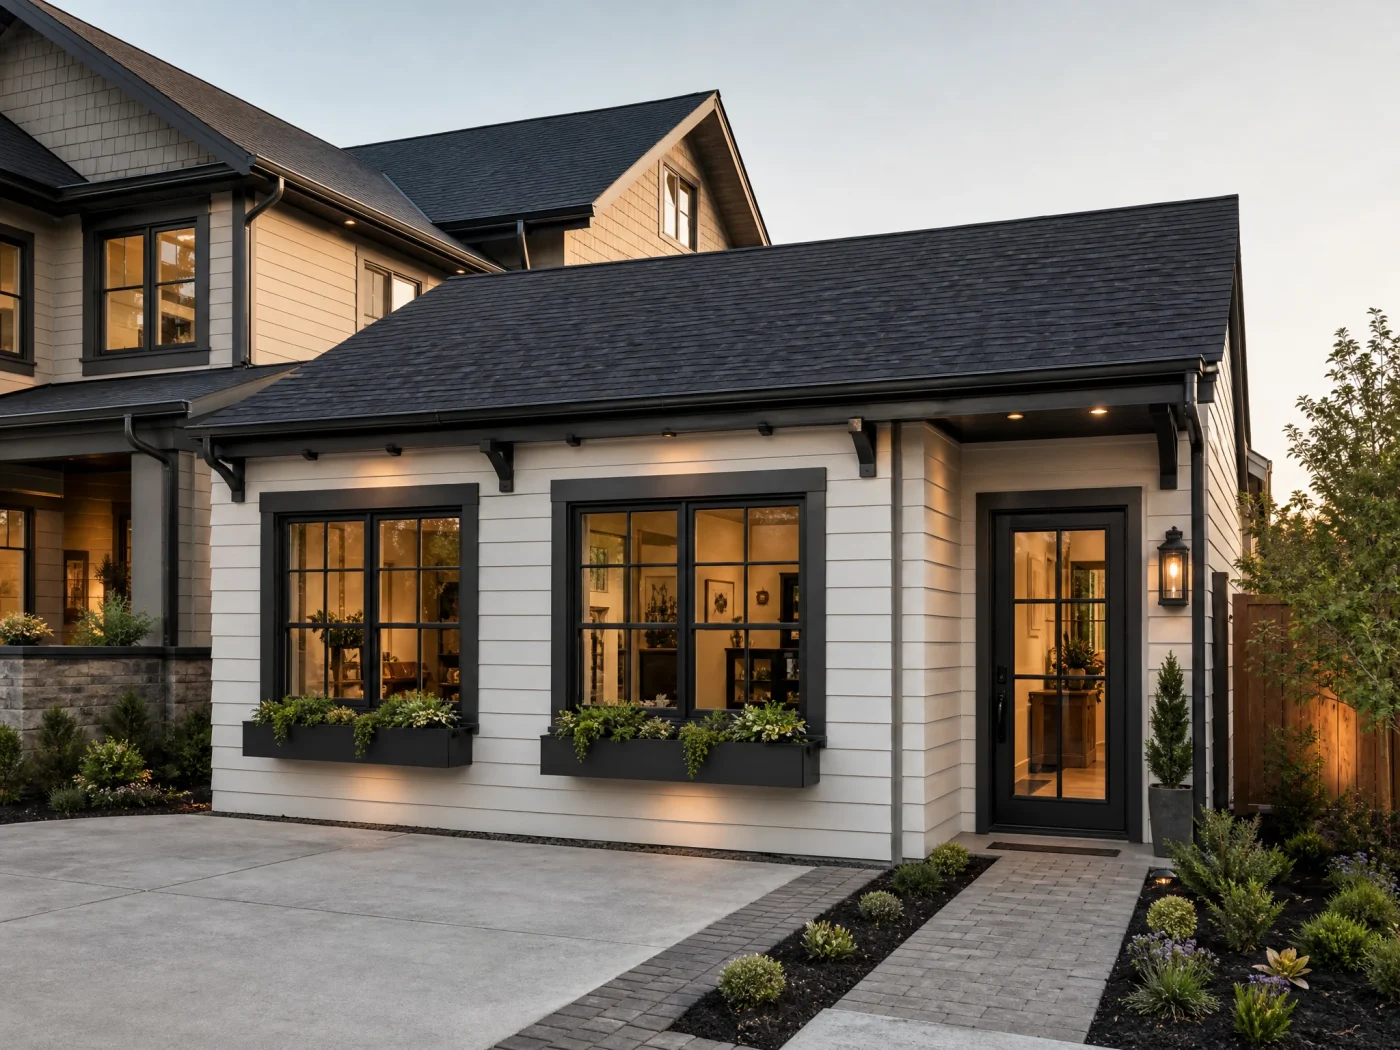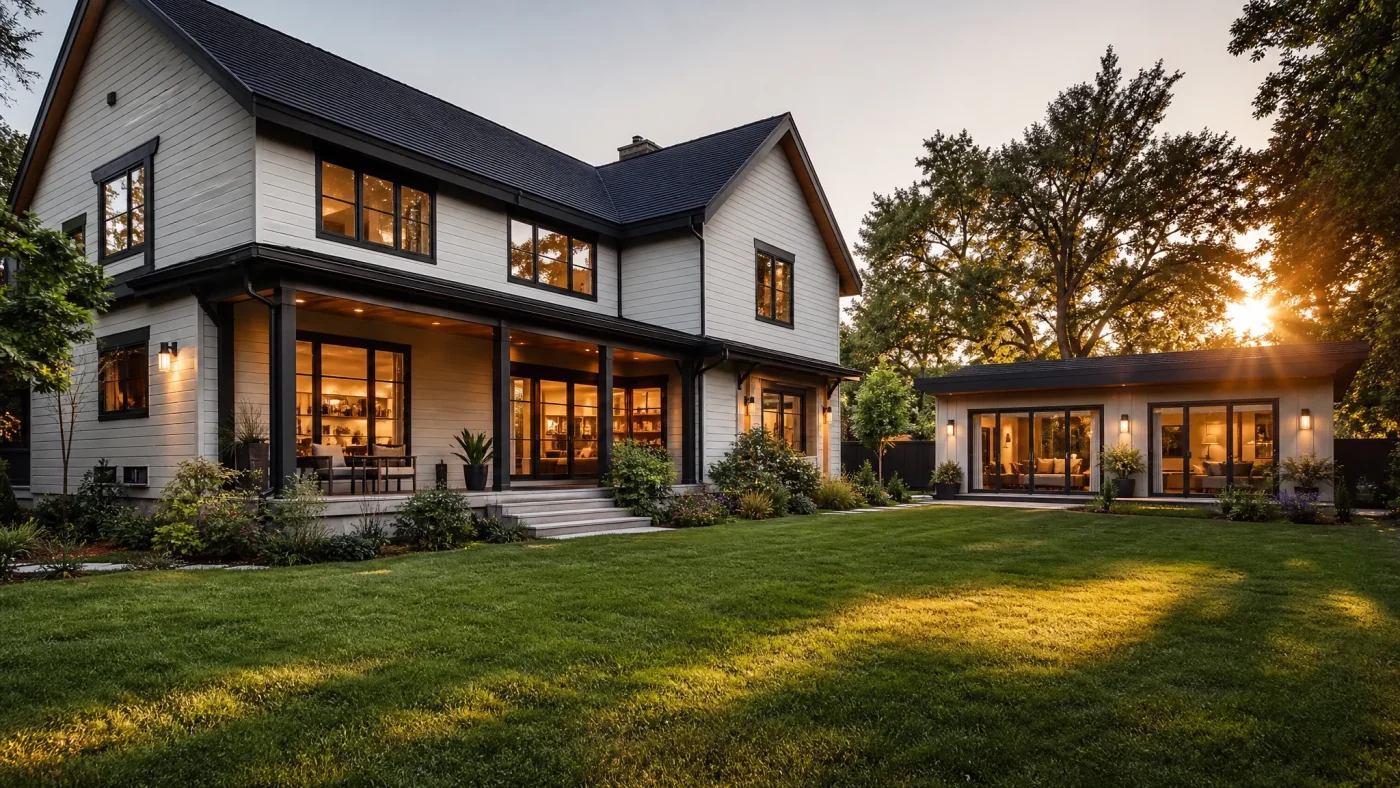
If you need more habitable square footage for an aging parent, an independent home office, or a cash-flowing rental property, the most cost-effective real estate asset you own is already sitting in your backyard or attached to your home: your garage.
A standard two-car garage provides 400 to 480 square feet of enclosed footprint. It already has a concrete slab foundation, framed exterior walls, a load-bearing roof structure, and direct electrical service. By converting this underutilized vehicle and storage space into a permitted living area or accessory dwelling unit (ADU), you can expand your home without consuming precious yard space or spending hundreds of thousands of dollars on ground-up foundation excavation.
However, transforming an unconditioned, uninsulated utility garage into a legal, safe, and comfortable dwelling requires far more than putting up drywall and installing a portable space heater. Municipal building departments hold garage conversions to identical life-safety codes as new homes. You must address slab moisture transmission, cut concrete for sewer drain tie-ins, replace the overhead garage door with an engineered structural wall, upgrade electrical capacity, and secure building permits.
This comprehensive guide is the definitive playbook for completing a code-compliant garage conversion in 2026. We examine true itemized costs, technical slab and framing details, mechanical and plumbing systems, municipal zoning exemptions, and how Build With A Plan helps homeowners navigate the process from feasibility through final city permits.
Garage Conversion Core Benchmarks
$95k to $165k
Turnkey 2-car conversion
400 to 480 Sq Ft
Standard 2-car footprint
4 to 7 Months
Permit to final occupancy
$0 Impact Fees
Exempt under 750 sq ft
Table of Contents
- Attached vs Detached Garage Conversions
- What Does a Garage Conversion Cost? (Itemized 2026 Budget)
- The Concrete Slab Challenge: Moisture, Leveling, and Plumbing Trenches
- Infilling the Garage Door: Structural Framing and Egress
- Plumbing and Sewer Tie-Ins
- Electrical Upgrades and Panel Capacity
- Insulation, Ceiling Height, and HVAC Climate Control
- Zoning, Parking Waivers, and City Building Permits
- The Step-by-Step Conversion Timeline
- Frequently Asked Questions
Attached vs Detached Garage Conversions
Before drawing floor plans, you must understand whether you are converting an attached or detached garage. While both provide similar square footage, their engineering requirements, fire ratings, and legal classifications differ substantially:
1. Attached Garage Conversions
An attached garage shares one or more common structural walls with your primary home.
- Cost Efficiency: Utility runs are significantly shorter. Because the garage adjoins the house, plumbers and electricians can often tap into existing domestic water lines, electrical branch circuits, and sewer drains located directly behind the shared wall.
- Fire Separation (IRC R302.6): If the converted space remains integrated with the primary home (such as an expanded family room or master suite), standard drywall assemblies apply. However, if the attached garage is converted into a separate, lock-off accessory dwelling unit, building codes mandate a strict one-hour fire-rated separation wall (typically 5/8-inch Type X drywall on both sides of the shared wall) and tight sealing of all mechanical penetrations.
- HVAC Independence: Building codes strictly forbid sharing ductwork between an ADU and the primary residence to prevent smoke, odors, and carbon monoxide transmission. A dedicated heating and cooling system (such as a ductless mini-split) is required.
2. Detached Garage Conversions
A detached garage sits as a standalone structure elsewhere on the residential parcel.
- Privacy and Independence: Detached units offer complete physical separation, making them the gold standard for high-rent tenant housing, Airbnb guest suites, or private multigenerational living.
- Underground Trenching Requirements: Because the detached structure sits across an open yard or driveway, you must excavate underground utility trenches across the property to supply sanitary sewer lines, domestic water pipes, and electrical subpanel feeders.
- Setback Protections: Under state ADU laws in California, Oregon, and Washington, an existing legally permitted detached garage can be converted into an ADU within its existing footprint and dimensions, even if it encroaches into modern 4-foot rear or side setbacks.
What Does a Garage Conversion Cost? (Itemized 2026 Budget)
A complete, code-compliant garage conversion for a standard two-car garage (400 to 480 square feet) costs between $95,000 and $165,000 turnkey, or approximately $210 to $340 per square foot.
Compared to ground-up detached construction ($190,000 to $270,000 for a 450 sq ft unit), converting an existing garage saves between $45,000 and $75,000 by reusing the existing concrete slab, exterior wall studs, and roof framing.
Here is an itemized budget breakdown based on real cost benchmarks from our regional project database:
| Scope Category | Technical Work Included | Typical Cost Range |
|---|---|---|
| 1. Architectural Plans & City Permits | Site plan drafting, structural engineering, Title 24 energy calculations, municipal plan check and permit fees. | $7,500 to $13,500 |
| 2. Demolition & Concrete Trenching | Removing overhead garage door, tracks, opener, drywall, saw-cutting slab for bathroom and kitchen plumbing. | $4,500 to $9,000 |
| 3. Slab Preparation & Moisture Sealing | Epoxy vapor barrier membrane, concrete trench patching, self-leveling underlayment to correct floor slope. | $4,000 to $8,500 |
| 4. Infill Wall Framing & Windows | Framing the 16-foot door opening with pressure-treated sill plates, anchor bolts, exterior siding, and egress windows. | $8,000 to $15,000 |
| 5. Rough & Finish Plumbing | Sewer tie-in, domestic PEX water supply lines, tankless electric or gas water heater, toilet, shower, vanity, and kitchen sink. | $14,000 to $24,000 |
| 6. Electrical Wiring & Subpanel | 100-amp subpanel installation, branch circuit wiring, LED lighting, AFCI/GFCI receptacles, and smoke/CO alarms. | $9,500 to $16,500 |
| 7. Insulation & Drywall | R-15/R-21 wall insulation batts, R-30/R-38 ceiling insulation, 1/2-inch drywall hanging, taping, texturing, and priming. | $7,500 to $13,000 |
| 8. HVAC Mini-Split Heat Pump | Ductless single-zone or dual-zone mini-split system (12,000 to 18,000 BTU, 20+ SEER2) with exterior compressor pad. | $4,500 to $8,000 |
| 9. Kitchen & Bathroom Finishes | Cabinets, quartz countertops, tile shower surround, plumbing trim, luxury vinyl plank (LVP) flooring, and interior paint. | $18,000 to $32,000 |
| 10. Appliances & Exterior Trim | Compact refrigerator, electric range/cooktop, microwave, washer/dryer, exterior lights, and paint touch-ups. | $6,000 to $11,000 |
| TOTAL ESTIMATED TURNKEY BUDGET | Full 400-480 Sq Ft Turnkey Conversion | $97,500 to $164,000 |
To see how garage conversions compare to building a new unit from scratch, read our detailed cost guide on ADU construction costs.
Wondering what your garage conversion will cost in your city?
Build With A Plan verifies your garage's setbacks, slab feasibility, sewer elevation, and electrical capacity for free. You pay nothing unless your property qualifies.
Check my garage feasibility freeThe Concrete Slab Challenge: Moisture, Leveling, and Plumbing Trenches
The single biggest engineering hurdle in a garage conversion is the existing concrete floor slab.
When home builders pour a residential garage floor, they design it to park automobiles, not to host living spaces. This introduces three critical challenges:
1. Lack of an Underslab Vapor Barrier
Under residential building codes (IRC Section R506.2.3), habitable concrete slabs must have an approved vapor retarder (minimum 10-mil or 15-mil polyolefin sheeting conforming to ASTM E1745) installed beneath the concrete to block groundwater moisture from rising through the porous slab.
Most garage slabs poured before 2010 have zero vapor barrier underneath. Ground moisture continuously migrates upward through the concrete via capillary action. If you glue down luxury vinyl plank (LVP), engineered hardwood, or carpet directly onto an unsealed garage slab, the trapped moisture will cause adhesive failure, warping, and toxic mold growth within months.
- The Solution: Contractors must apply a commercial epoxy moisture mitigation membrane (such as Bostik Roll-Cote or Mapei Planiseal) directly onto the shot-blasted concrete, or build a floating subfloor system (such as insulated DMX or DRIcore panels) with a continuous polyethylene vapor barrier.
2. The Drainage Slope Problem
Building codes historically required garage slabs to slope downward toward the overhead vehicle door at a pitch of 1/8 inch to 1/4 inch per foot to allow melted snow, rainwater, and car wash runoff to drain out into the driveway.
When converting the space, this slope leaves the floor uneven by 2 to 4 inches from the back wall to the front entrance. Furniture will rock, doors will scrape, and shower pans cannot drain properly.
- The Solution: Contractors use a laser level to establish a benchmark, apply a bonding primer, and pour a self-leveling cementitious underlayment across the slab to create a flat, level walking plane.
3. Saw-Cutting for Plumbing Trenches
To install a toilet, walk-in shower, bathroom vanity, and kitchen sink, plumbers must run 2-inch and 3-inch drain pipes beneath the concrete.
- Contractors use diamond-blade walk-behind concrete saws to cut 12-inch to 16-inch wide trenches through the slab.
- Caution for Post-Tensioned Slabs: If your home was built on an engineered post-tensioned (PT) slab (common in Texas, Arizona, and parts of California), the concrete contains high-strength steel cables tensioned to thousands of pounds of force. Severing a post-tension cable can cause explosive structural failure. A commercial ground-penetrating radar (GPR) scan ($800 to $1,500) is mandatory before cutting into any post-tensioned foundation.
Infilling the Garage Door: Structural Framing and Egress
Removing the 16-foot overhead garage door and replacing it with an exterior wall is the most visible transformation of the project.
This infill wall must be designed to withstand lateral wind loads and seismic shear forces:
Framing Details
- Concrete Curb Infill: Most garages feature a 6-inch to 8-inch depression or sloping apron where the overhead door meets the driveway. Contractors pour a reinforced concrete curb or lay mortared concrete masonry unit (CMU) blocks to match the height of the existing foundation stem wall, preventing surface driveway rainwater from flooding under the new wall.
- Pressure-Treated Sill Plates: The bottom plate must be pressure-treated lumber anchored to the concrete foundation using 1/2-inch anchor bolts or heavy concrete wedge anchors spaced every 4 to 6 feet, within 12 inches of each plate end.
- Framing Geometry: Standard 2x6 wood studs spaced at 16 inches on center accommodate high R-value insulation.
- Header Considerations: Because the existing garage door opening already features a heavy structural wood or steel lintel header above the opening, the infill wall is non-load-bearing regarding roof weight, simplifying framing.
Windows and Natural Light Requirements (IRC R303 / R310)
Municipal building codes require habitable rooms to receive adequate natural light and ventilation:
- Glazing Area: Habitable spaces must have natural glazed openings totaling not less than 8% of the floor area (36 square feet of window glass for a 450 sq ft garage).
- Ventilation Area: Operable window area must equal at least 4% of the floor area (18 square feet of operable opening), unless a whole-house mechanical ventilation system is installed.
- Emergency Egress: If the garage conversion includes a dedicated bedroom, it must feature at least one operable emergency escape and rescue opening (egress window) with a minimum net clear opening of 5.7 square feet (5.0 sq ft on grade level), minimum height of 24 inches, minimum width of 20 inches, and a maximum sill height of 44 inches above the floor.
Plumbing and Sewer Tie-Ins
Supplying water and removing waste is the most labor-intensive phase of a garage conversion.
A complete ADU conversion requires four primary plumbing installations:
- Sanitary Sewer Tie-In: Wastewater from toilets, sinks, and showers must drain by gravity at a minimum slope of 1/4 inch per foot. The contractor must locate the main building sewer lateral (often located under the house crawlspace or routed through the front yard). If the garage slab sits lower than the city sewer connection point, gravity drainage is impossible, requiring a specialized residential sewage ejector pump system ($4,500 to $7,500 installed).
- PEX Domestic Water Supply: A 3/4-inch cold water line is extended from the primary home's water distribution manifold to the garage. Flexible PEX-a piping is routed overhead through the ceiling joists or beneath the slab.
- Dedicated Water Heater: Most garage conversions utilize a wall-mounted electric tankless water heater (requiring a dedicated 50A to 60A 240V circuit) or an energy-efficient heat pump water heater (hybrid water heater), which satisfies strict energy conservation standards under California Title 24 and IECC.
- Washing Machine Drain & Cleanouts: If a laundry closet is included, an approved standpipe (minimum 2-inch diameter, 18 to 30 inches above the trap weir) and an accessible two-way exterior cleanout must be installed.
Electrical Upgrades and Panel Capacity
A garage converted into an independent dwelling unit consumes substantial electrical power: induction cooking, a ductless mini-split heat pump, water heating, lighting, microwave, and convenience receptacles.
The Main Service Panel Check
Before adding new electrical circuits, an electrical contractor must perform an NEC Article 220 service load calculation:
- Many older homes built between 1950 and 1980 have a 100-amp main electrical service panel. Adding an ADU with electric heating, cooking, and water heating will overload a 100A service.
- In these cases, you must upgrade your main electrical service panel to 200 amps (or 320A/400A if you plan to install multiple electric vehicle chargers or heat pumps). A main panel upgrade typically costs between $3,500 and $6,500, including utility meter coordination and grounding rod installations.
Installing a Subpanel
A dedicated 100-amp subpanel is installed inside the garage conversion. This subpanel controls all branch circuits within the unit:
- Dedicated 240V, 30A to 50A circuit for the electric range or cooktop.
- Dedicated 240V, 20A to 30A circuit for the ductless mini-split condenser.
- Dedicated 240V, 30A circuit for the water heater.
- Two independent 120V, 20A small-appliance branch circuits for kitchen countertop outlets.
- Dedicated circuits for the bathroom, refrigerator, microwave, and clothes washer.
- Arc-Fault Circuit Interrupters (AFCI) on all living room and bedroom circuits, and Ground-Fault Circuit Interrupters (GFCI) in the bathroom and kitchen.
Insulation, Ceiling Height, and HVAC Climate Control
An unconditioned garage is an oven in the summer and an icebox in the winter. Creating an energy-efficient, comfortable living space requires careful thermal boundary management:
1. Ceiling Height Requirements (IRC R305)
Under the International Residential Code, habitable spaces, hallways, and bathrooms must have a minimum ceiling height of 7 feet 0 inches (measured from the finished floor to the finished ceiling).
- Most residential garages feature clear wall heights of 8 to 9 feet, easily exceeding this requirement.
- If your garage has open roof trusses with bottom chords at 8 feet, you can install ceiling drywall directly onto the framing. If you want a dramatic vaulted ceiling, an engineer can design structural collar ties or a ridge beam to allow vaulted open-concept spaces.
2. Wall and Roof Insulation Standards
Building energy codes (IECC / California Title 24 / Washington State Energy Code) require continuous thermal envelopes:
- Exterior Walls: 2x4 stud framing requires R-13 to R-15 cavity insulation. 2x6 stud framing accommodates R-19 to R-21 fiberglass or mineral wool batts. If the exterior features stucco or siding over open studs, installing continuous exterior foam board sheathing prevents thermal bridging.
- Ceilings & Roofs: Garages with attics require R-30 to R-38 blown-in cellulose or fiberglass batts. If creating a vaulted ceiling, closed-cell spray foam insulation (R-6.5 per inch) is ideal, providing maximum R-value within narrow rafter spaces while acting as a built-in vapor barrier.
3. Ductless Mini-Split Heat Pumps
The industry standard for heating and cooling garage conversions is a ductless mini-split heat pump system:
- Energy Efficiency: Mini-splits operate at exceptional efficiency ratings (18 to 28 SEER2), minimizing monthly electric bills.
- Zoned Comfort: The wall-mounted indoor air handler operates via an independent wireless thermostat, allowing occupants to dial in exact temperatures without affecting the main home.
- Zero Ductwork: Mini-splits require only a 3-inch hole through the exterior wall for refrigerant lines, electrical cabling, and condensate drains, eliminating the need to drop ceiling heights for bulky sheet metal ducts.
- Cost: A premium 12,000 BTU single-zone system (such as Mitsubishi, Daikin, or Fujitsu) costs between $4,500 and $7,500 fully installed.
Zoning, Parking Waivers, and City Building Permits
In the past, the primary reason homeowners could not convert their garage was municipal zoning: city bylaws required single-family homes to maintain two covered parking spaces in an enclosed garage.
Over the past five years, groundbreaking legislative reforms have permanently transformed this landscape:
1. Statutory Parking Replacement Waivers
In forward-thinking states, state law explicitly overrides local municipal parking mandates:
- California (Gov Code 65852.2 / AB 68 & AB 881): When a garage, carport, or covered parking structure is converted into an ADU, no replacement off-street parking spaces can be required by the local jurisdiction, provided the parcel is located within one-half mile walking distance of public transit (bus stop, train station), in an architecturally significant historic district, or within one block of a car-share vehicle.
- Washington (HB 1337): Prohibits cities from mandating off-street parking for ADUs located within one-half mile of major transit stops.
- Oregon (SB 1051) & Colorado (HB 24-1152): Severely limit or eliminate minimum parking requirements for accessory dwellings.
2. Zero Development Impact Fees
Under California state law, any ADU smaller than 750 square feet is legally exempt from municipal development impact fees (parks, traffic, water capacity, and general capital improvement fees). Because a standard two-car garage is only 400 to 480 square feet, your impact fee liability is exactly $0, saving you between $4,000 and $16,000 compared to building a large additions package.
3. What Drawings Are Required for a Building Permit?
To obtain a building permit, your local building department requires a complete architectural plan set, including:
- Site Plan / Plot Plan: Showing property lines, main house, garage footprint, setbacks, utility paths, and easements.
- Existing vs Proposed Floor Plans: Detailing wall demolition, new partition walls, door swings, window sizes, and room dimensions.
- Exterior Elevations: Showing the infilled garage door wall, window head heights, exterior finishes, and building heights.
- Foundation Details: Showing trench patches, slab moisture barriers, anchor bolt spacing, and concrete curb framing.
- Plumbing Schematics: Water supply and drain-waste-vent isometric riser diagrams.
- Electrical Floor Plan: Receptacle layouts, lighting switching, AFCI/GFCI breakers, panel schedules, and service load calculations.
- Title 24 / Energy Calculations: Proving wall, ceiling, and window insulation compliance.
Build With A Plan produces the entire permit-ready architectural and engineering package for a flat fee of $6,000, with municipal plan check revisions included. Learn more on our pricing page.
The Step-by-Step Conversion Timeline
From initial concept to your Certificate of Occupancy, a professionally managed garage conversion follows a clear, predictable six-stage process spanning 4 to 7 months:
graph TD
    A["Month 1: Feasibility & Architectural CAD Plans"] --> B["Month 2: City Plan Check & Permit Approval"]
    B --> C["Month 3: Demolition, Concrete Trenching & Rough Plumbing"]
    C --> D["Month 4: Framing Infill, Rough Electrical & Insulation Inspections"]
    D --> E["Month 5: Drywall, Mini-Split HVAC & Tile Finishes"]
    E --> F["Month 6: Kitchen Cabinets, Appliances & Final City Sign-Off"]
Month 1: Feasibility and Architectural Drafting
Complete a site survey to verify property setbacks, electrical panel capacity, and sewer invert elevations. An architectural designer drafts the complete CAD permit set, coordinates structural engineering details, and calculates building energy compliance.
Month 2: City Plan Check Submission
The drawing set is submitted to your local municipal building department. City examiners review the plans across zoning, building, structural, plumbing, and electrical departments. Plan check comments are addressed, corrections re-submitted, and building permits are officially issued.
Month 3: Demolition and Rough In-Ground Trades
The overhead garage door is dismantled. Concrete saws cut trenches through the slab. Plumbers install under-slab drain pipes, water lines, and test waste stacks under pressure. The city inspector conducts the in-ground plumbing inspection, after which concrete is repoured and finished.
Month 4: Framing, Windows, and Rough Mechanical
The garage door opening is framed with pressure-treated sills and anchor bolts. Windows and exterior doors are installed and waterproofed. Electricians wire the 100A subpanel and branch circuits. Mechanical contractors install the mini-split line sets. The city inspector conducts the rough framing, rough electrical, and rough mechanical inspections.
Month 5: Insulation, Drywall, and Flooring
Exterior walls and ceilings are insulated with code-compliant batts. Drywall is hung, taped, textured, and primed. The concrete slab receives its epoxy moisture mitigation membrane and self-leveling underlayment, followed by the installation of durable luxury vinyl plank (LVP) flooring.
Month 6: Cabinets, Finishes, and Final Sign-Off
Kitchen base cabinets, quartz countertops, plumbing trim, appliances, lighting fixtures, and the mini-split heat pump are installed. The city building inspector performs the final building inspection, verifies smoke and carbon monoxide alarms, and signs off on your permanent Certificate of Occupancy (COO).
Frequently Asked Questions
How much does it cost to convert a 2-car garage into an apartment?
In most US metro markets, converting an existing 400 to 480 square foot two-car garage into a legal, permitted apartment or ADU costs between $95,000 and $165,000 turnkey, or approximately $210 to $340 per square foot. Total costs depend on the distance to your sewer line, whether your main electrical service requires a panel upgrade, and the quality of interior kitchen and bathroom finishes.
Do I need an architect to convert my garage?
In the majority of US states, single-family residential projects fall under statutory architectural exemptions, meaning an expensive licensed architect is not legally required for a garage conversion. A professional architectural drafting service like Build With A Plan prepares the complete permit-ready drawing set, including site plans, structural framing details, plumbing isometrics, and electrical calculations, for a flat fee of $6,000, saving thousands over traditional architecture firms.
Does converting a garage reduce my property value because I lose parking?
In almost all housing markets, converting a garage into permitted, habitable living space substantially increases your total property value. Habitable finished square footage appraises at $300 to $650+ per square foot, whereas storage garage space is valued at only $50 to $100 per square foot. Furthermore, adding an independent rental unit or in-law suite that generates $1,500 to $2,400 per month in passive rental income significantly enhances buyer demand and resale appeal.
Can you convert a garage without a permit?
Building a garage conversion without a municipal permit is illegal, dangerous, and financially risky. Unpermitted conversions cannot be included in official real estate appraisal square footage when selling your home. Municipal code enforcement can issue stop-work orders, assess daily fines, or force you to tear out all drywall and plumbing at your own expense. Most critically, homeowner insurance policies routinely deny coverage for fires or water damage originating in unpermitted electrical or plumbing work.
What is the cheapest way to convert a garage?
The most economical garage conversion is keeping the existing plumbing close to the main house to minimize concrete trenching, installing a compact all-in-one kitchen unit, utilizing a ductless mini-split heat pump rather than running expensive ductwork, and using high-durability luxury vinyl plank (LVP) flooring over an epoxy moisture barrier rather than pouring a completely new slab.
Can I do the work myself as an owner-builder?
Most jurisdictions allow homeowners to pull an owner-builder permit and perform work themselves. However, tasks like saw-cutting concrete slabs, tying into live sewer mains, and balancing high-voltage subpanels require professional trade skills. Most successful homeowners hire licensed subcontractors for the heavy foundation, plumbing, and electrical rough-ins, while completing painting, trim carpentry, and finish fixtures themselves to save labor costs.
Related Planning & Design Resources
Related Services